So, you've installed MailDex, and you want to start using it right now without reading all of the documentation? Well, you are in the right place. Here is what you need to know.
MailDex lets you organize any amount of email content by projects. You can have as many MailDex projects as you want, but you need at least one.
In the Index Emails area, use the buttons to create a project and then add email content to that project.
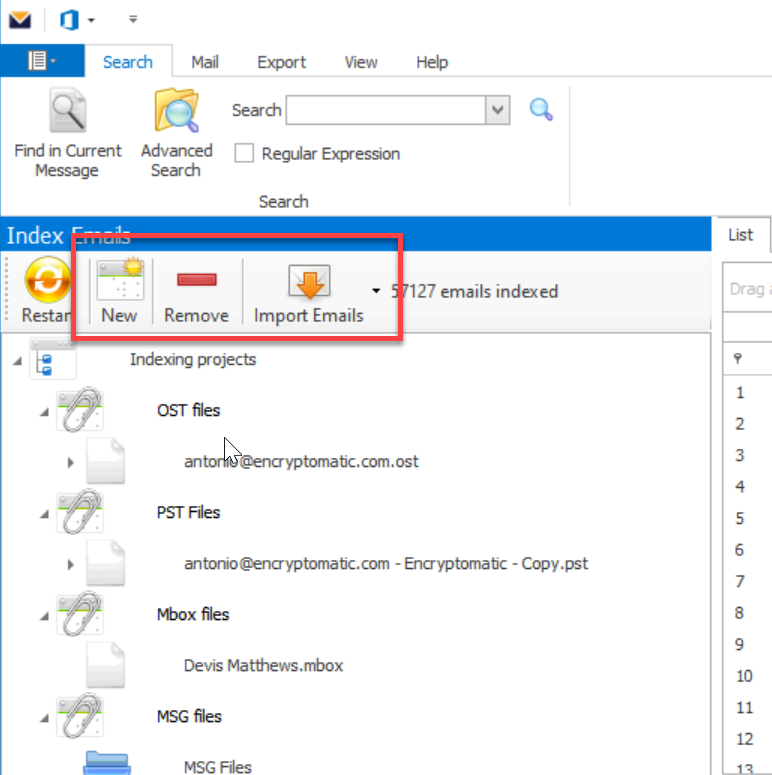
Adding email content, such as large PST or OST files, or a folder containing thousands of .msg or .EML files, will automatically start the indexing process.
Monitor the progress of the indexing operation by reading status at the bottom.
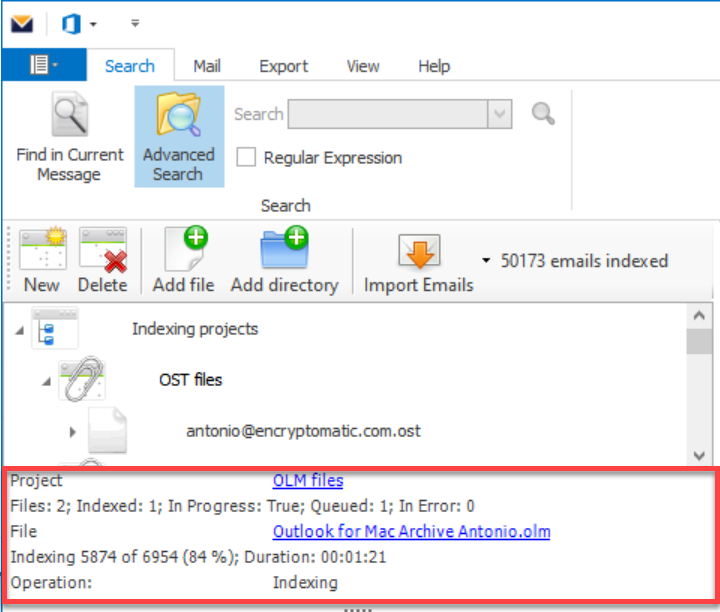
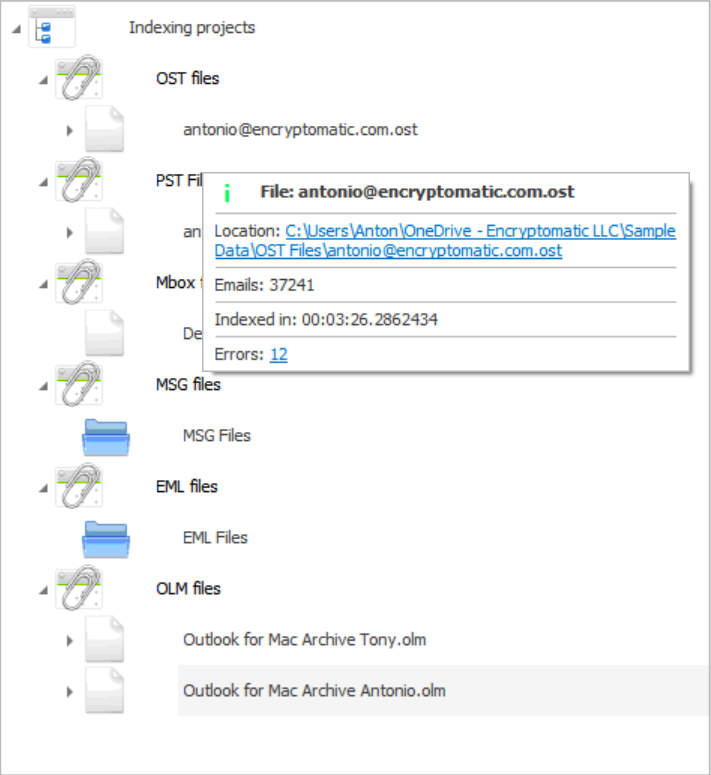
You can also view the status of each indexed file by hovering over the project or file.
When MailDex has completed indexing, you are ready to search for emails.
If you have multiple MailDex projects, click to highlight the project you want to search. Then, type your search term in the simple Search box and press enter.

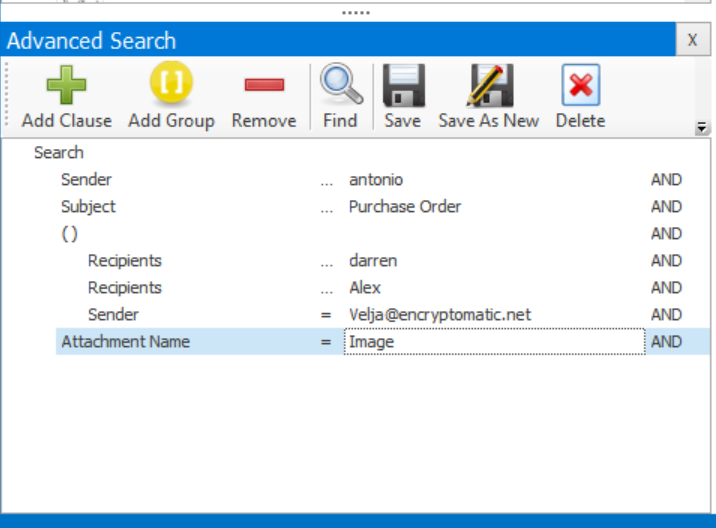
MailDex supports advanced search queries. Click the large "Advanced Search" button then enter a clause, select your preferred field, your parameter and then the search keyword.
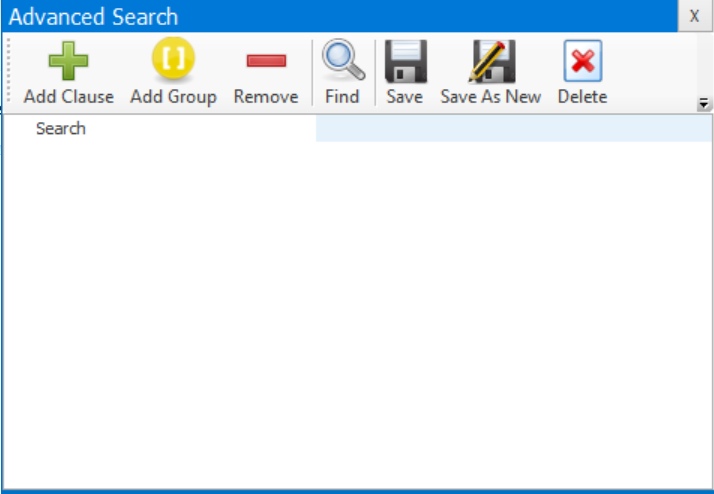
You can also create a group of clauses for in-depth search. You can remove clauses, save the search, save as a new search and delete past searches.
That's everything you need to know to create a MailDex project, add email content, and search!